Last Updated on May 9, 2022 EDT by Jordan
Introduction
The following guide will help you install Windows Subsystem Linux, Windows Terminal and ZSH.
Step 1 – Enable WSL
It’s pretty easy to install Windows Subsystem Linux, open Powershell as Administrator, and run the following. The following command will require a restart.
Enable-WindowsOptionalFeature -Online -FeatureName Microsoft-Windows-Subsystem-Linux
Step 2 – Install Ubuntu
Navigate to the Windows Store and search for Ubuntu. You’ll have three options.
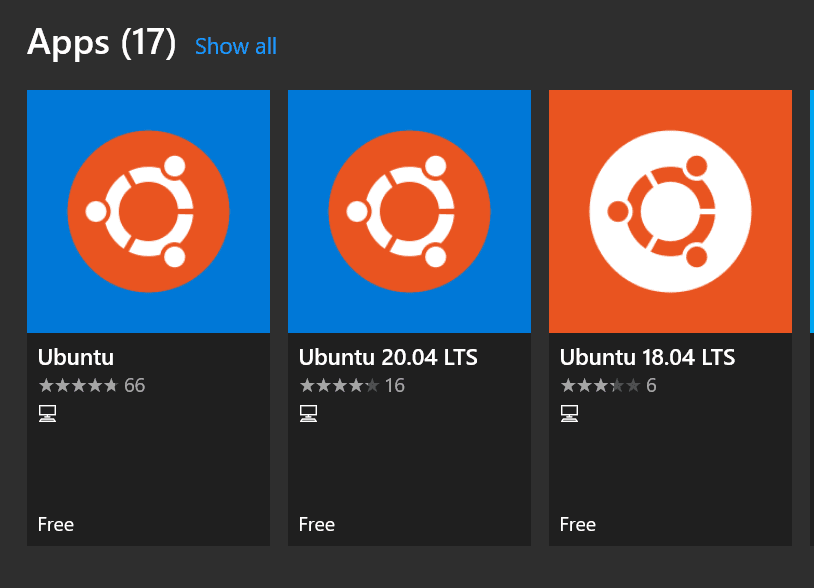
You can choose to install Ubuntu 20.04 LTS or Ubuntu 18.04 LTS. However, if you simply choose Ubuntu, you will get Ubuntu 20.04 LTS.
Totally up to you what you pick. Either works.
Once installed, you will have to launch Ubuntu so that it can continue the installation process. You’ll choose a username and password.

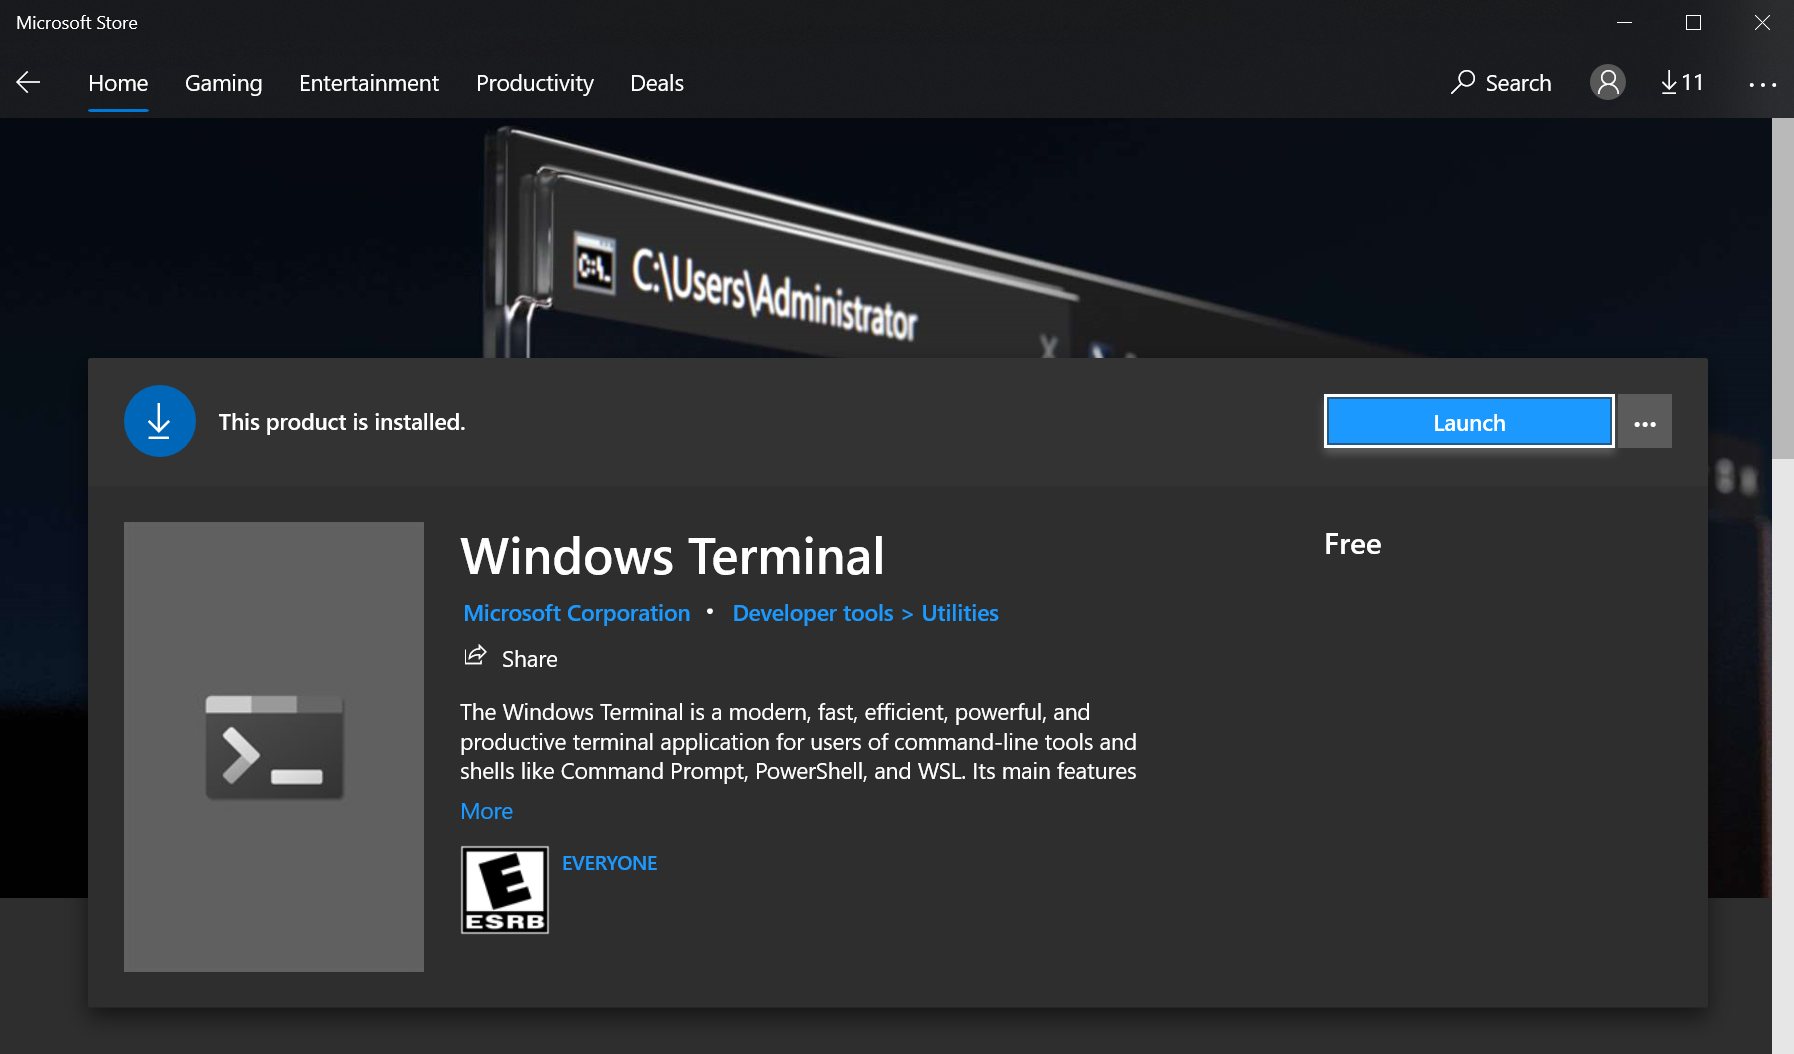
Step 3 – Install Windows Terminal
Windows Terminal provides a tabbed manager for all of your various terminals, such as Powershell, Command Prompt and WSL!
You can download Windows Terminal via the Windows Store
Step 4 – Configure Windows Terminal
Windows Terminal has many configuration options that you will find useful. Here are the ones I suggest you configure.
- Start up -> Default Profile -> Ubuntu
- Interaction -> Automatically copy selection to clipboard
Step 5 – Fixing the WSL Home Directory Issue
When you launch WSL you’re placed into /mnt/c/Users/
So you’ll have to make one small change.
- Go into Windows Terminal Settings ( Ctrl + , )
- Profiles -> Ubuntu -> General
- Set Starting Directory to: //wsl$/Ubuntu/home/
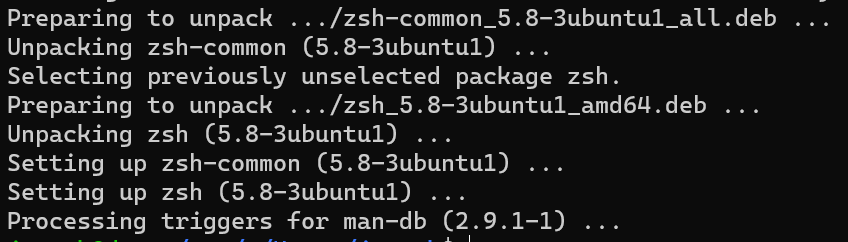
Step 6 – Install ZSH
You can install ZSH like you would on any Ubuntu system!
sudo apt-get update;sudo apt-get install zsh
Enter in your password and Ubuntu will update it’s cache of packages and install ZSH.
You can then type “zsh” to launch the ZSH shell. You can also set your default shell to zsh by typing “chsh”. However, you will need to know the full path to zsh, and we can find this out by typing “which ZSH”
user@comp:/mnt/c/Users/user$ which zsh
/usr/bin/zsh
Now you can type “chsh” enter your password, and the path to zsh like so!
user@comp:/mnt/c/Users/user$ chsh
Password:
Changing the login shell for user
Enter the new value, or press ENTER for the default
        Login Shell [/bin/bash]: /usr/bin/zsh
Step 7 – Install oh-my-zsh
You can install oh-my-zsh using a one-liner from their website at https://ohmyz.sh or use the command below taken from their website.
sh -c "$(curl -fsSL https://raw.github.com/ohmyzsh/ohmyzsh/master/tools/install.sh)"
Step 8 – Install Powerlevel10k Font
What’s Powerlevel10k? it’s a zsh theme and successor to Powerlevel9k. I love using it. You can see the full installation instructions on Github at https://github.com/romkatv/powerlevel10k
The installation involves installing a supported font and the theme itself. I highly suggest installing the font as you’ll not be able to see all the fancy icons.
If you visit the installation page mentioned above, you’ll find a link to download the font. Here’s a direct link.
https://github.com/romkatv/powerlevel10k-media/raw/master/MesloLGS%20NF%20Regular.ttf
Download the font, double click on the font and press install!

You’ll then need to set up Windows Terminal with the font.
Open Settings (Ctrl+,), under “Profiles” click “Ubuntu” then “Appearance” and set “Font Face” to “MesloLGS NF”. Save, exit and relaunch.
Step 9 – Installing Powerlevel10k Theme
Again, you can refer to the Github page for installation instructions or use the following one-liner for oh-my-zsh.
git clone --depth=1 https://github.com/romkatv/powerlevel10k.git ${ZSH_CUSTOM:-$HOME/.oh-my-zsh/custom}/themes/powerlevel10k
Then you’ll need to set the theme in your .zshrc file, which should be located at the root of your home directory. Here’s a quick screenshot of where the .zshrc should be located after installing oh-my-zshrc.

There should already be a line for ZSH_THEME; simply change it to powerlevek10k
#ZSH_THEME="robbyrussell"
ZSH_THEME="powerlevel10k/powerlevel10k"

Step 10 – Powerlevek10k Configuration
Close your Windows Terminal and relaunch it. You should now be taken through the Powerlevel10k configuration screens. Once complete, you can start using your ZSH shell with oh-my-zsh and the Powerlevel10k theme!
Further Customization
There are tons of configuration options for the Powerlevel10k theme; you can read all about it on the Github repository.
https://github.com/romkatv/powerlevel10k
I’ve actually create my own custom ZSH setup that does most of the work above, except for the font (Step 8). I’ve also add in some custom aliases and commands. It’s very much a WIP!
https://github.com/jordantrizz/zshbop
Enjoy!
Updates
- 05-09-2022 – Added more detail about .zshrc